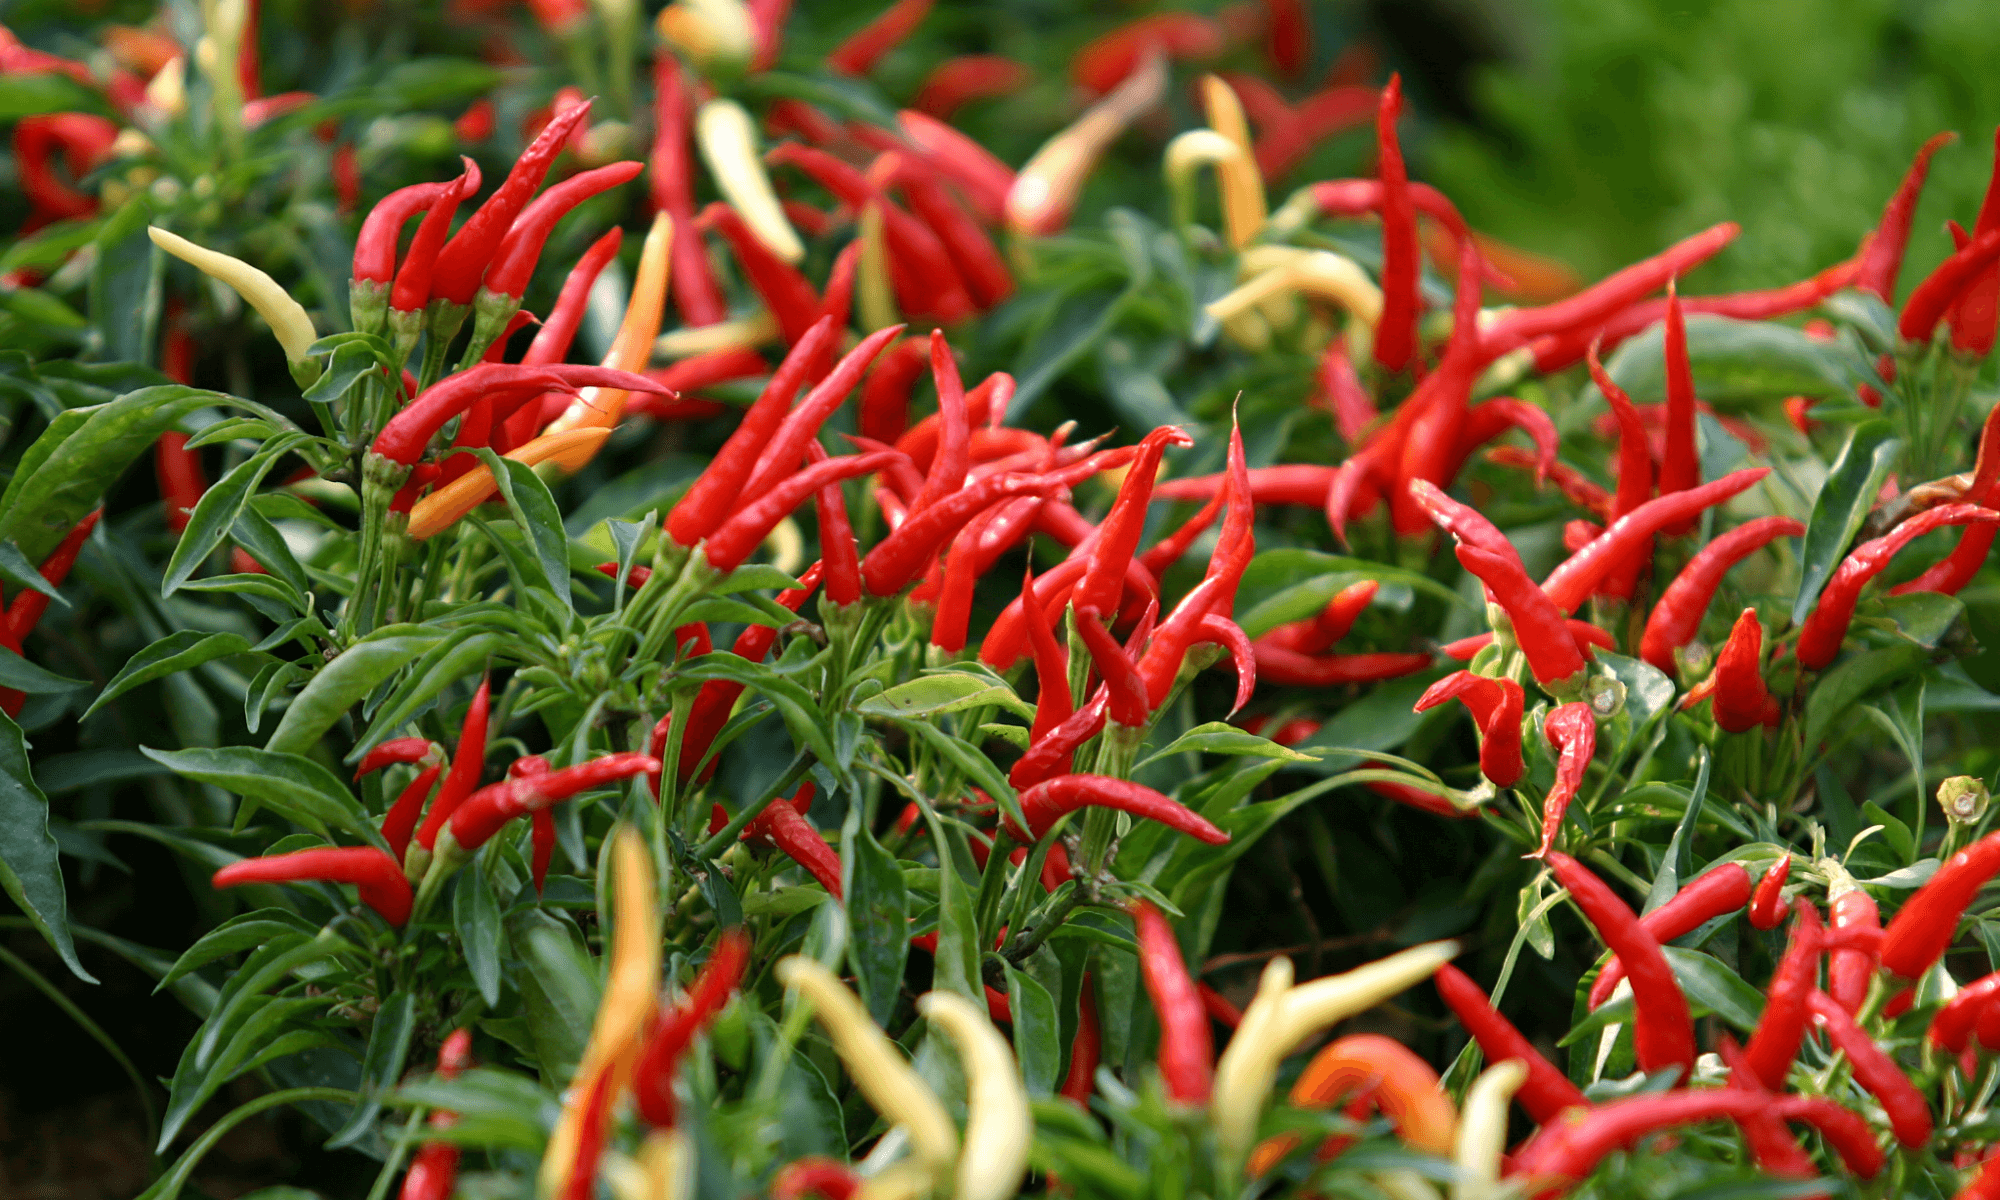
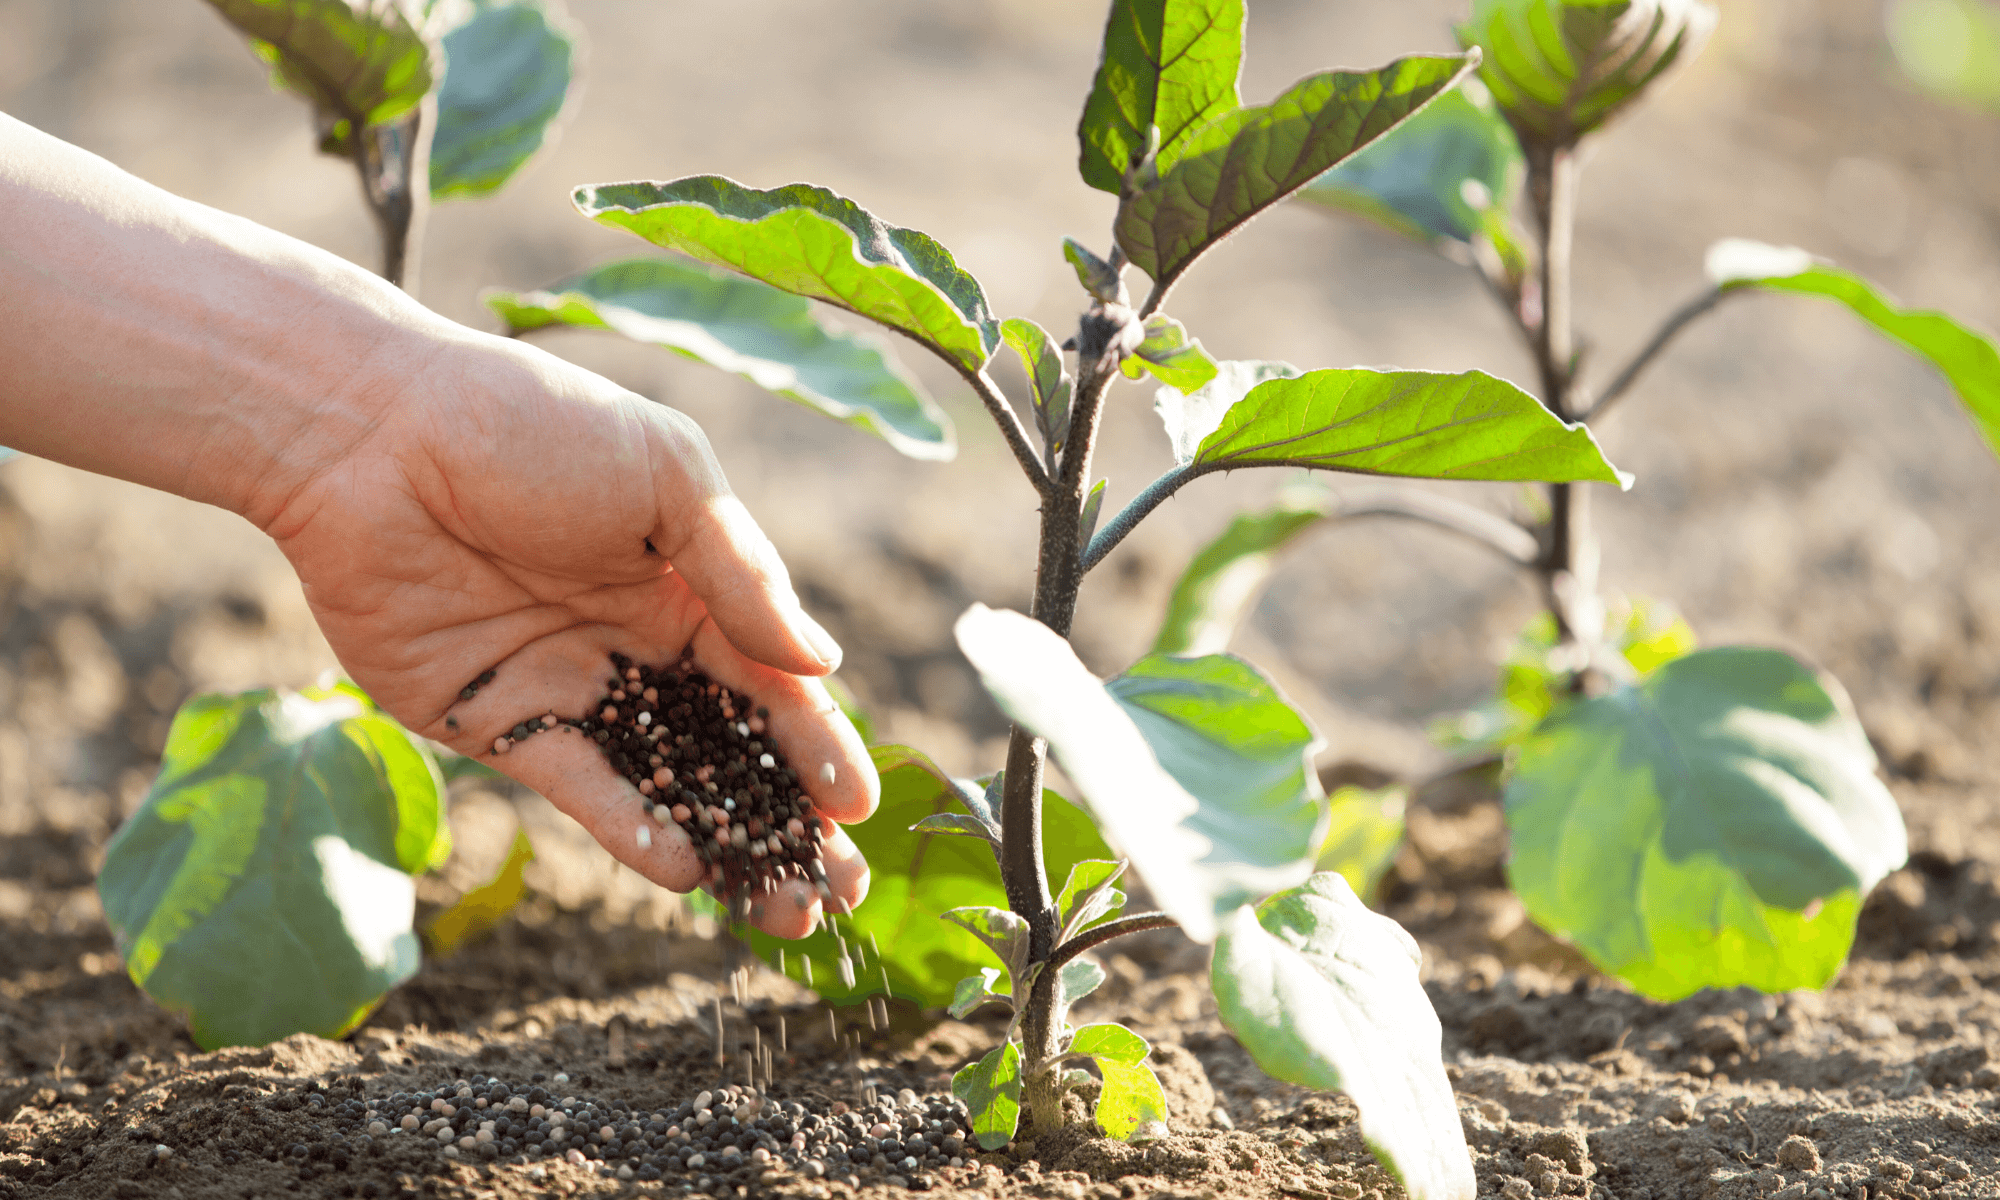
Want to grow your own spicy, flavorful chilies at home? Whether you’re a gardening newbie or a seasoned plant lover, cultivating chili plants is easier than you think! With the right potting mix, proper watering techniques, and a little care, you can enjoy a bountiful harvest of fresh, fiery peppers right from your garden. In this guide, we’ll share simple yet effective tips to help your chili plants thrive—from transplanting seedlings to fertilizing and pest control. Get ready to spice up your gardening game!
Prepare a seedling
Bought a healthy chili seedling from the nursery and prepared to transplant it into a large pot (about 1-foot diameter).
Soil preparation
Soil Preparation: Mix 4 parts fruit & vegetable potting soil with 1 part plant-based compost, ensuring an even blend for initial nutrients.
Transplant
- Fill the pot halfway with the prepared soil, place the seedling in the pot. Then, fill the remaining space with soil.
- After transplanting: Let the plant sit for a day to allow the roots to adapt before watering thoroughly.
Watering guidelines
Check soil moisture daily using your finger. If the soil is still very moist, do not water; if it feels slightly dry but cool, water the plant.
Fertilization
- After 1 week: Apply Mr Ganick 532 high-nitrogen Organic Leafy Fertilizer to promote leaf growth. Dig a hole away from the plant base, place a handful of fertilizer, and cover with soil. Apply once a week.
- Following week: Start alternating with Mr Ganick 426 high-potassium Organic Melon Fertilizer to encourage fruit growth. Apply once a week.
Maintenance
- Regular pruning while harvesting is needed.
- If pests appear, spray Mr Ganick Dr Neem on the plant base and stem once a week.
- If the plant shows signs of disease, spray Mr Ganick Organic Plant Acid on the base and stem once a week.
Growing chili plants is easy and rewarding with the right care. Follow these tips, and soon you’ll be harvesting fresh, fiery peppers!